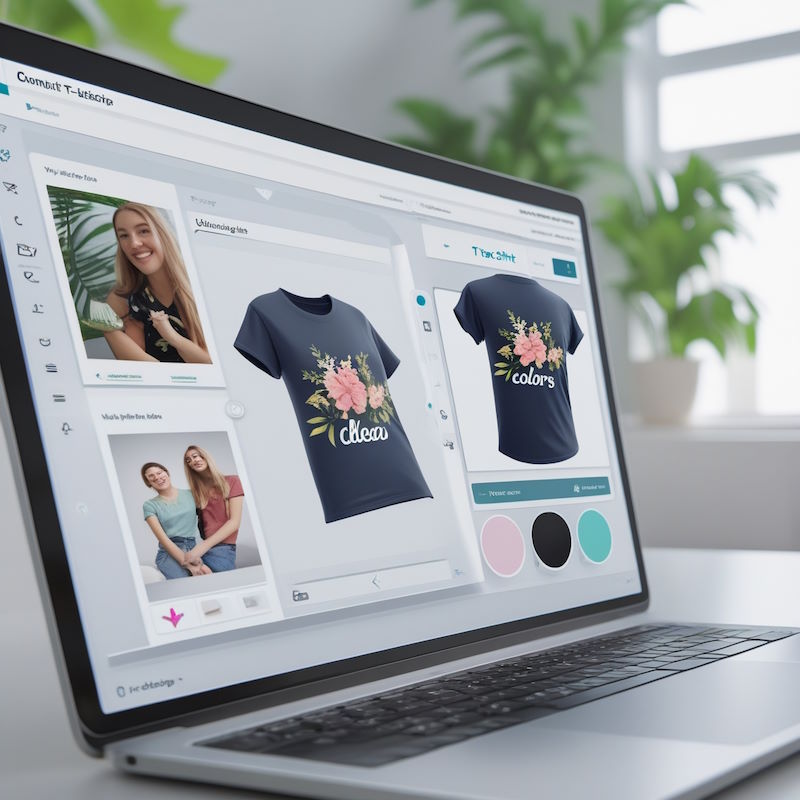
How to Design Your Own T-Shirt – A Step-by-Step Guide
Looking to create a custom t-shirt that reflects your personality, brand, or event? With our intuitive online design software, it’s easier than ever to bring your ideas to life! Whether you're designing for personal use, a business, or a special occasion, follow this step-by-step guide to design your own t-shirt effortlessly.
Why Design Your Own T-Shirt?
Custom t-shirts are a fantastic way to express creativity, promote a brand, or celebrate an event. Here are a few reasons why people love designing their own tees:
- Uniqueness: Stand out with a one-of-a-kind t-shirt that no one else has.
- Personalized Touch: Add your own text, images, or logos for a fully customized look.
- Perfect for Any Occasion: Great for birthdays, businesses, family reunions, and team events.
- Easy & Fun: Our online design tool makes creating your own shirt simple and hassle-free.
Step 1: Choose the Right T-Shirt
Before you start designing, decide on the style, color, and fabric of your t-shirt. Our platform offers a variety of options, including:
- Classic Cotton Tees: Comfortable and durable for everyday wear.
- Premium Soft Tees: Lightweight and stylish for a modern look.
- Sport & Performance Tees: Breathable fabric perfect for active wear.
- V-Necks, Long Sleeves & Hoodies: Additional styles to match your preference.
Step 2: Upload Your Design or Create One
With our easy-to-use t-shirt design software, you can either upload your own images, logos, or graphics or create a design from scratch using our built-in tools.
- Upload Your Artwork: If you already have a logo or design, simply upload it in high resolution.
- Use Our Text Tool: Add catchy phrases, names, or quotes with a variety of fonts and colors.
- Choose from Pre-Made Graphics: Access our collection of icons, patterns, and clipart.
- Experiment with Layouts: Adjust size, rotation, and positioning until your design looks perfect.
Step 3: Pick Your Colors & Placement
Color is key in making your t-shirt pop! Our tool allows you to:
- Choose from a wide range of t-shirt colors.
- Experiment with text and design color contrasts for the best visibility.
- Decide on front, back, or sleeve printing for maximum impact.
Step 4: Preview & Adjust Your Design
Before finalizing, use our preview feature to see exactly how your design will look when printed. This ensures:
- Proper alignment & sizing: Avoid misplacement and ensure balance.
- High-quality resolution: Make sure your design is sharp and clear.
- Overall aesthetics: Ensure colors, fonts, and graphics work well together.
Step 5: Place Your Order & Get It Printed
Once you're happy with your design, it's time to order your custom t-shirt. Our high-quality printing ensures:
- Vibrant, long-lasting prints that don’t fade.
- Soft-touch ink options for a premium feel.
- Fast processing & shipping so you get your t-shirt quickly!
Bonus Tips for an Amazing T-Shirt Design
- Keep It Simple: Less is often more when it comes to t-shirt design.
- Use High-Quality Images: Pixelated graphics won’t print well—upload HD files.
- Contrast is Key: Dark designs work best on light shirts and vice versa.
- Know Your Audience: Design with your target audience in mind.
Start Designing Your Own T-Shirt Today!
With our intuitive design software, creating a custom t-shirt has never been easier. Whether it’s for personal use, a business, or an event, your perfect t-shirt is just a few clicks away. Get started now and bring your ideas to life!


